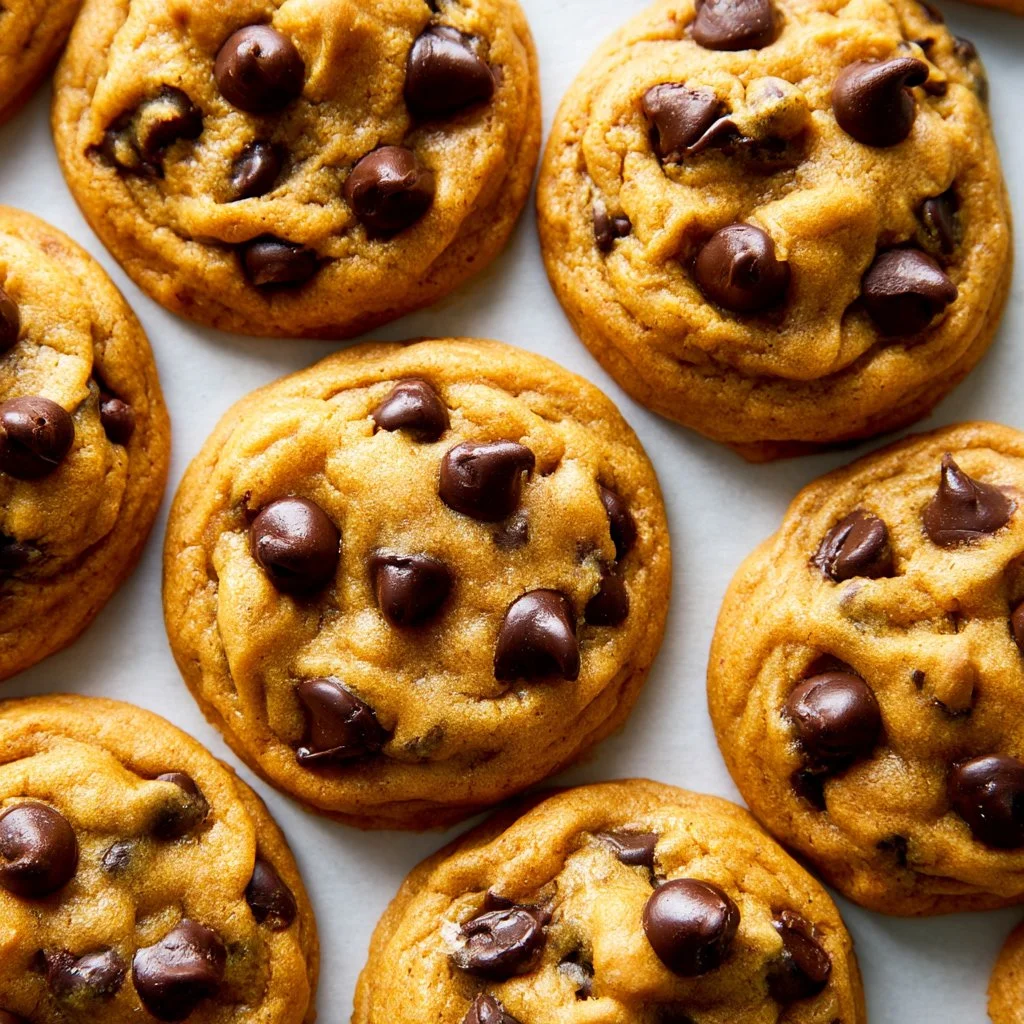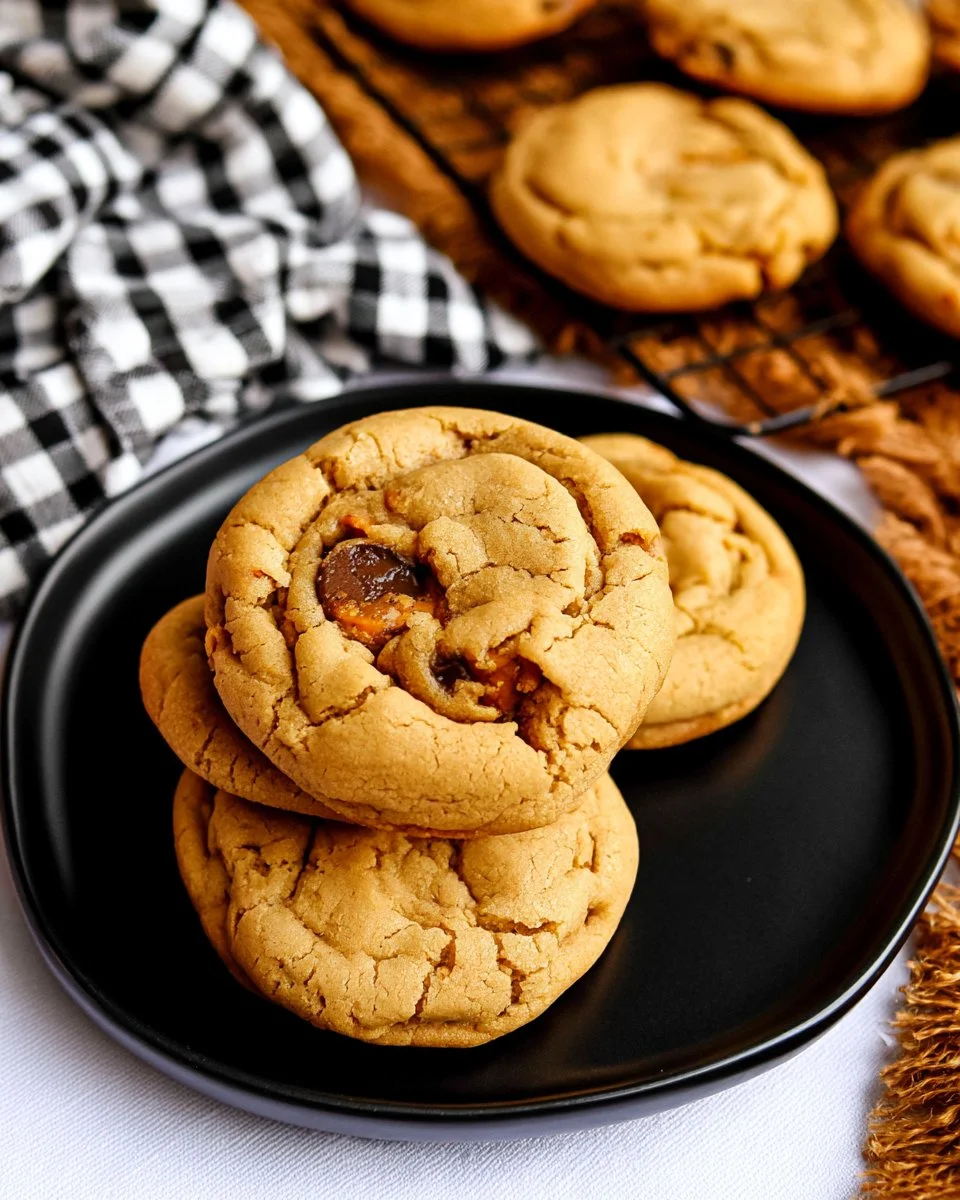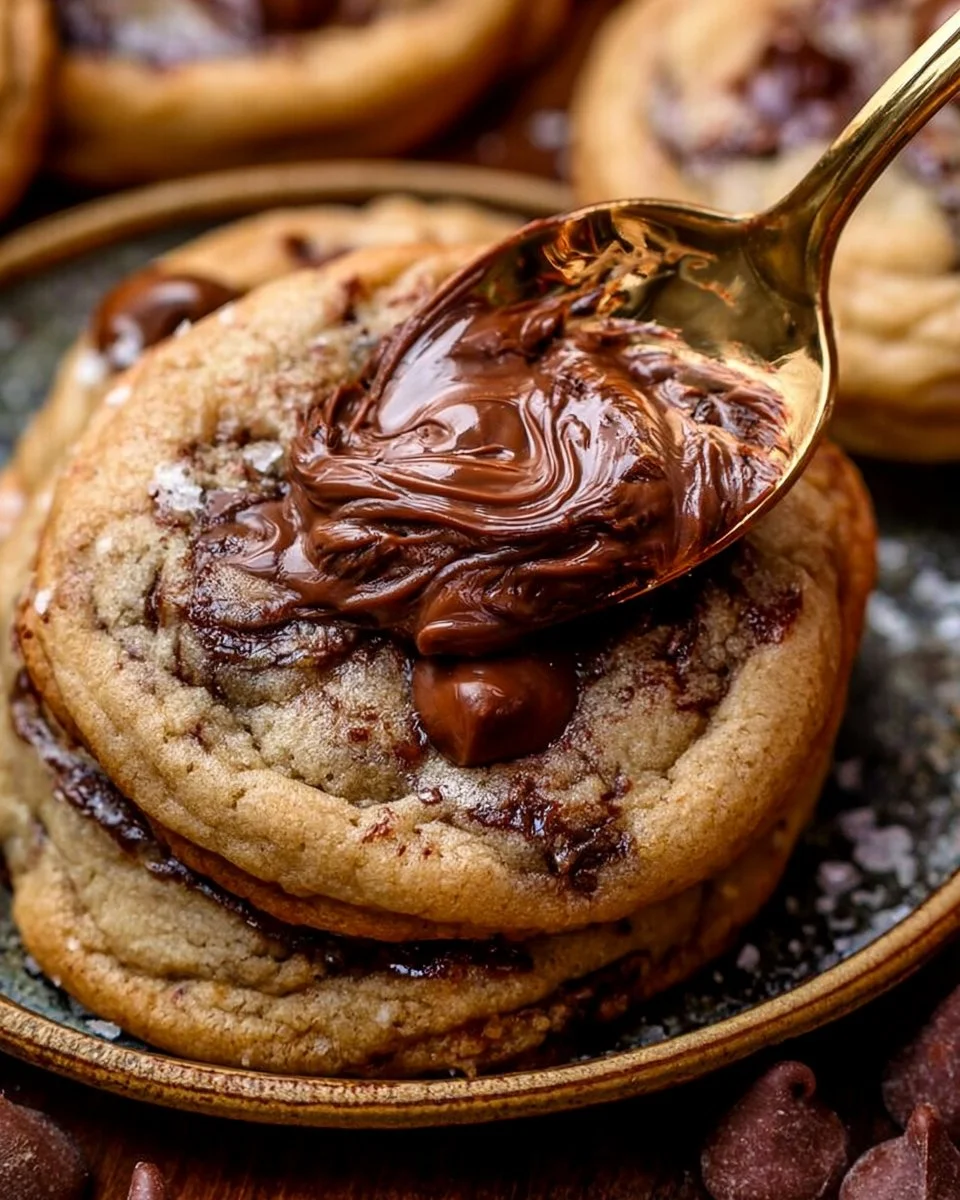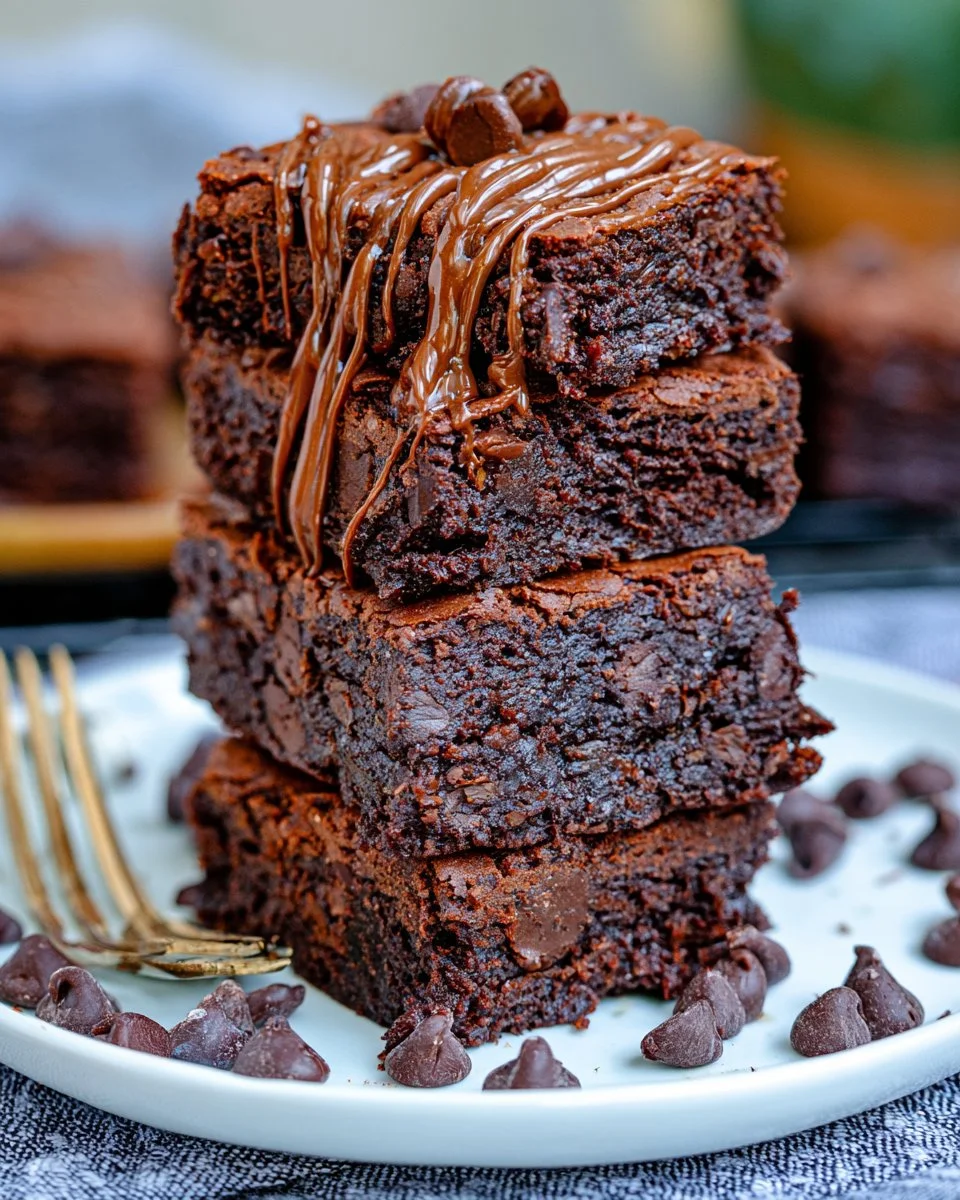

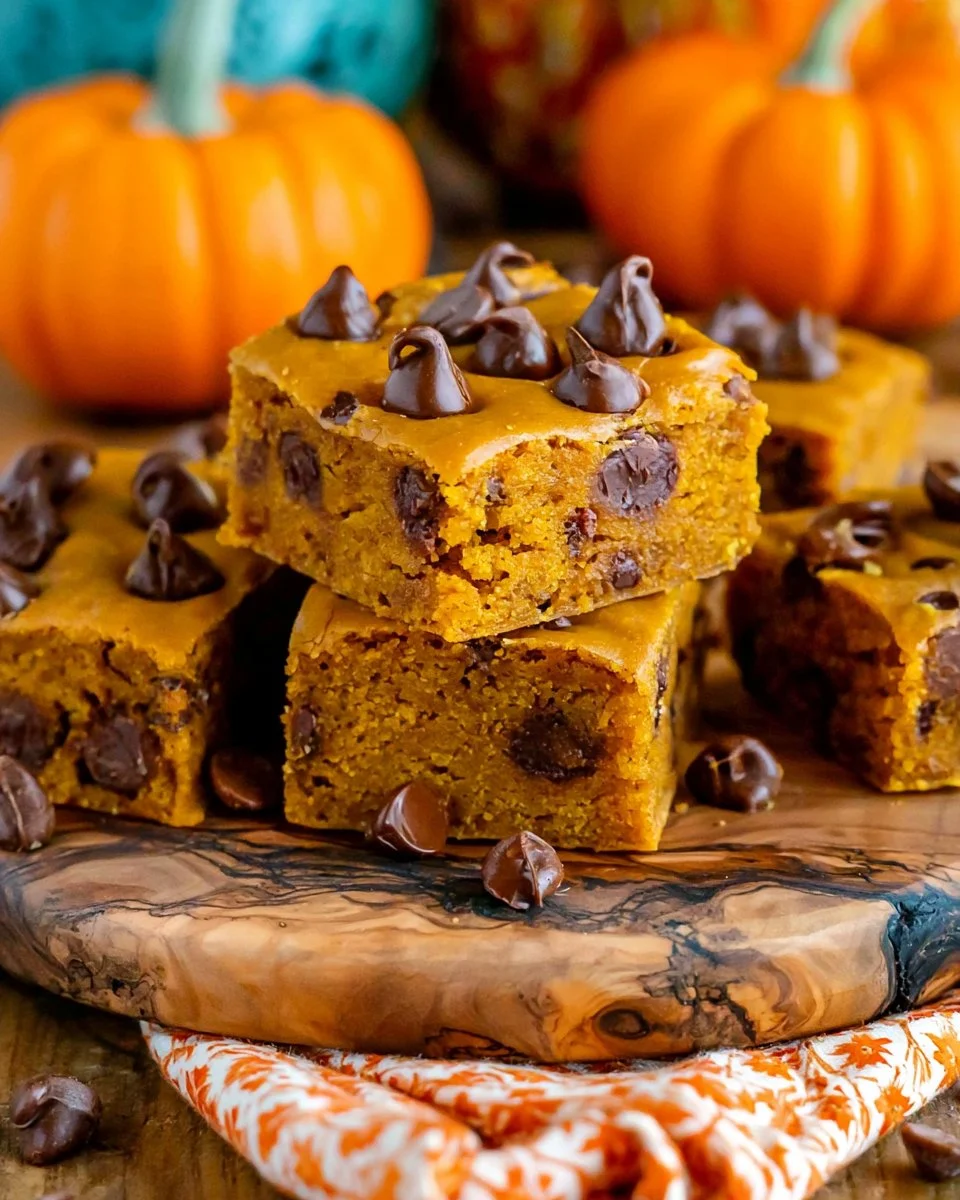
There’s something undeniably comforting about baked goods that combine rich pumpkin flavor with sweet chocolate. These simple bars bring together familiar ingredients like butter, oils, and sugars into a deliciously moist treat. Whether you bake them for a family gathering or simply for a cozy night at home, you’ll find they are a satisfying way to enjoy fall flavors any time of year. Let’s get started on making these Pumpkin Chocolate Chip Bars.
Why You’ll Love This Pumpkin Chocolate Chip Bars
These Pumpkin Chocolate Chip Bars are incredibly easy to prepare, making them a reliable choice for both novice and experienced bakers alike. The balance of pumpkin’s natural moisture provides a comforting texture, while the chocolate chips add a touch of sweetness that everyone enjoys. With everyday ingredients readily available, these bars can fit seamlessly into your routine, whether for breakfast, an afternoon snack, or a sweet treat after dinner.
Kitchen Tools You’ll Need
- Large mixing bowl
- Electric mixer or whisk
- Measuring cups
- Measuring spoons
- Spatula
- 13×9″ baking pan (greased)
Ingredients
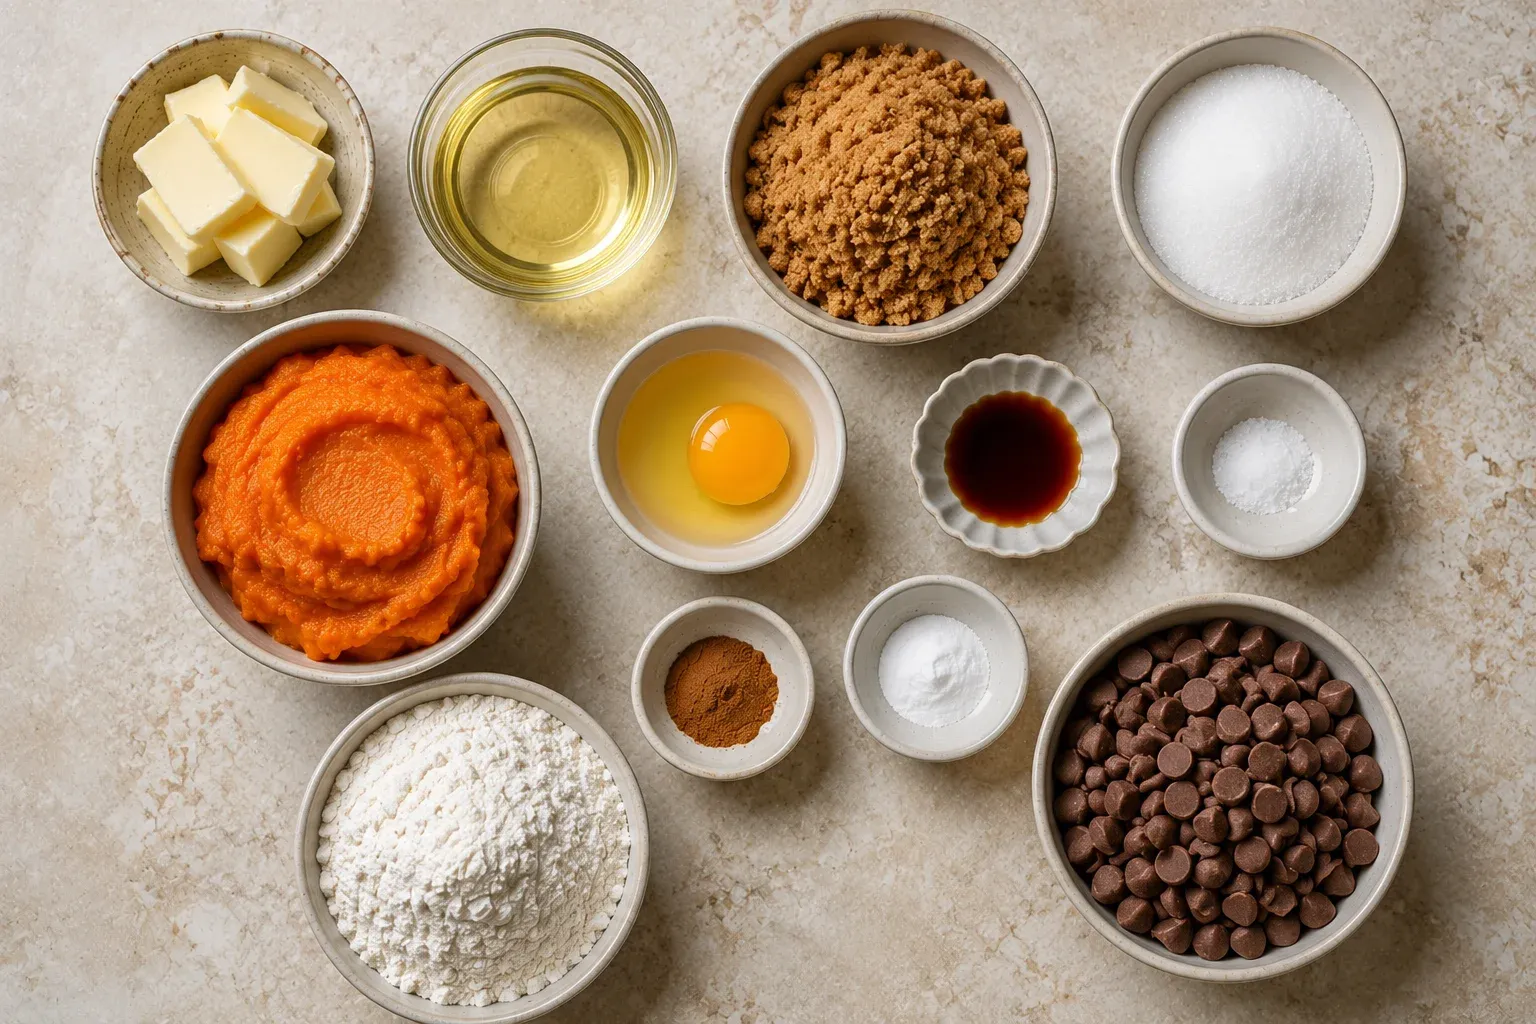
- 4 TBS unsalted butter very soft (for richness and moisture)
- 1/3 cup oil (any mild flavored oil – e.g., canola) (adds moisture and prevents dryness)
- 3/4 cup brown sugar (for sweetness and a hint of caramel flavor)
- 1/2 cup granulated sugar (adds sweetness)
- 15 oz can pumpkin purée (provides moisture and pumpkin flavor)
- 1 egg (acts as a binder)
- 1 tsp vanilla extract (adds depth of flavor)
- 1/2 tsp salt (enhances the overall taste)
- 1/2 tsp pumpkin pie spice (provides warm autumnal flavor)
- 1 tsp baking soda (helps the bars rise)
- 2 1/4 cup all purpose flour (gives structure)
- 12 oz milk chocolate chips (adds sweetness and chocolate flavor)
How to Make Pumpkin Chocolate Chip Bars
Step 1. Preheat your oven to 350°F. This step is essential to ensure the bars bake evenly from the moment the batter goes in, allowing the flavors to meld and the texture to set just right.
Step 2. In a large mixing bowl, combine the very soft unsalted butter, oil, brown sugar, granulated sugar, and pumpkin purée. Use a mixer or a whisk to thoroughly blend these ingredients until they are well combined and smooth. This mixture should be creamy and cohesive, indicating that the sugars have started to dissolve and integrate with the pumpkin.
Step 3. Add the egg, vanilla extract, salt, pumpkin pie spice, and baking soda to the bowl. Mix these ingredients well until fully incorporated and the mixture is uniform. You’ll want to watch for any lumps from the pumpkin purée or egg, ensuring a smooth batter for the bars.
Step 4. Gradually add the all-purpose flour to the mixture. Carefully stir it in with a spatula or spoon just until combined. Be mindful not to overmix at this point; the batter should be thick and no dry flour should remain. This step is crucial for maintaining a tender texture in the finished bars.
Step 5. Gently fold in the milk chocolate chips, reserving 1/4 cup to sprinkle on top later. The chocolate should be evenly distributed throughout the batter, providing pockets of sweetness in every bite.
Step 6. Spread the batter evenly into a greased 13×9″ baking pan. Use a spatula to smooth the top to ensure an even bake. This will help the bars rise uniformly and bake through without any raw edges.
Step 7. Finally, sprinkle the reserved chocolate chips over the top of the batter. This adds a nice visual appeal and extra chocolate flavor on the surface of the bars as they bake.
Step 8. Bake in the preheated oven for 25-30 minutes. You’ll know the bars are done when a tester inserted into the center comes out clean or with a few moist crumbs clinging to it. They should look slightly golden around the edges and set in the center. Remove them from the oven and let them cool completely in the pan on a wire rack.
Step 9. Once cooled, cut the bars into squares or rectangles as desired. They can be stored covered at room temperature for up to 2 days or refrigerated for about a week, allowing you to enjoy these treats for several days.
Serving Suggestions
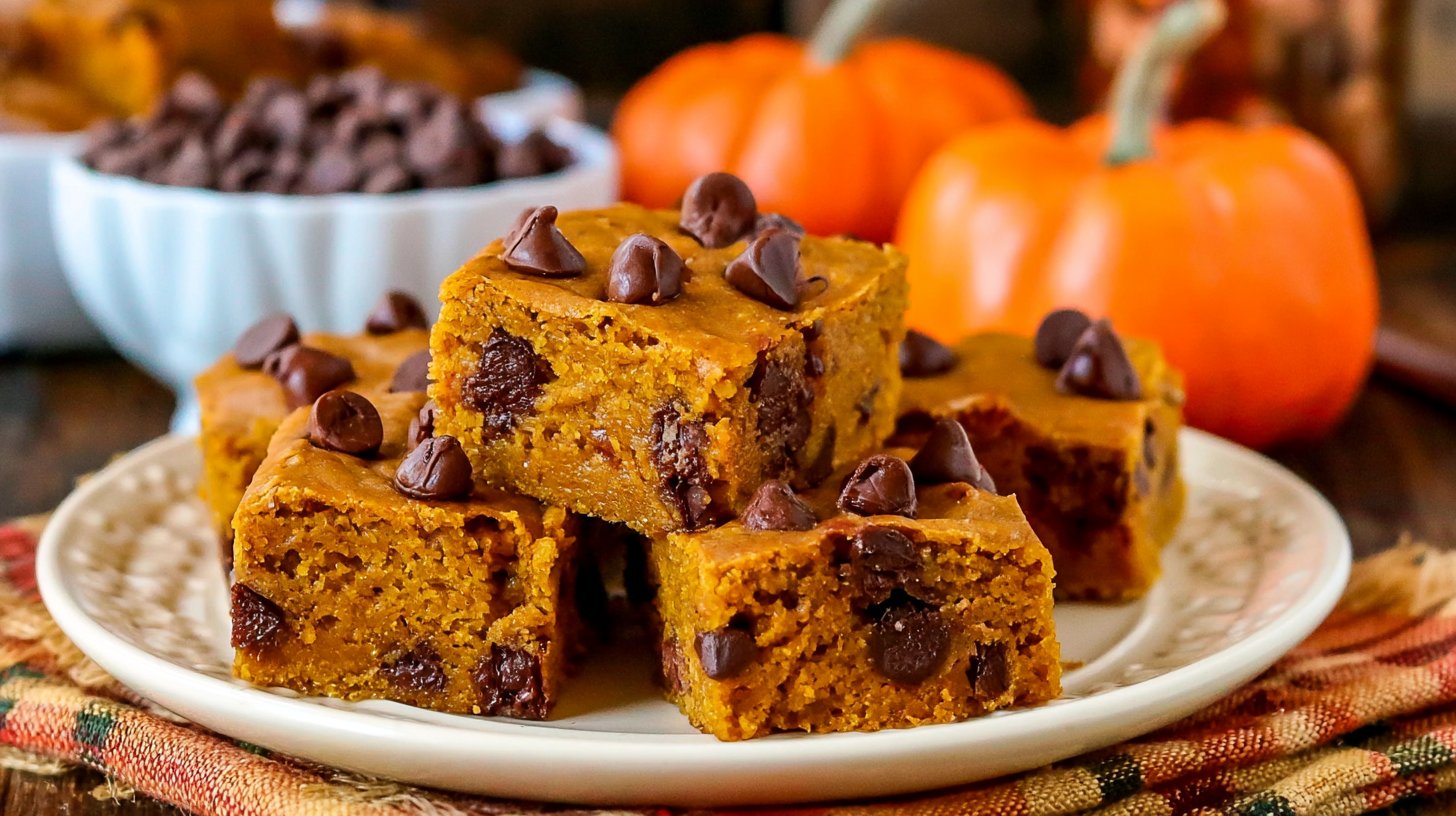
These Pumpkin Chocolate Chip Bars make for a versatile option to enjoy. They can be a delightful breakfast treat alongside your morning coffee or a satisfying snack throughout the day. Enjoy them as a decadent dessert after a family meal, or simply grab one whenever you’re in need of a sweet pick-me-up. If there are any leftovers, they can be easily shared or saved for later indulgence, making them a great addition to lunchboxes or dessert trays.
Pro Tips for Best Results
- Make sure your butter is very soft for easier mixing and better incorporation into the batter.
- Avoid overmixing the batter once you add the flour to keep the bars light and tender.
- Let the bars cool completely in the pan for easier cutting and a better texture.
- Consider lining the pan with parchment paper for easier removal after baking.
- Use fresh pumpkin purée for a different flavor, but ensure it’s dense enough for proper moisture.
Common Mistakes to Avoid
- Using cold butter. Cold butter can lead to uneven mixing, resulting in a dense texture. Always soften your butter well before starting.
- Overmixing the batter. This can develop gluten and result in tough bars. Mix just enough to combine after adding flour.
- Not greasing the pan properly. This may cause the bars to stick, making them difficult to cut. Ensure the pan is well-greased before spreading the batter.
- Not testing for doneness. Relying solely on baking time can lead to under or overbaked bars. Always check with a toothpick in the center.
- Using outdated baking soda. If your baking soda isn’t fresh, the bars won’t rise adequately. Make sure it’s within its expiration date.
- Cutting bars too soon. Cutting while they’re still warm may cause them to crumble. Allow them to fully cool for cleaner cuts.
Variations & Substitutions
For a different twist, consider adding nuts like walnuts or pecans for added crunch. You might also experiment with using dark chocolate chips instead of milk chocolate for a more bittersweet flavor. For those who enjoy a spicier profile, increasing the pumpkin pie spice can add warmth. If you’re looking for a less sweet option, you might reduce the sugar slightly, but be cautious as it might affect the texture.
Storage & Reheating
Store the cooled bars covered at room temperature for up to 2 days to maintain their softness. If stored in the refrigerator, they can last for about a week. For longer preservation, these bars can be frozen in an airtight container for up to 3 months. When you’re ready to enjoy them, let them thaw at room temperature, or for a warm treat, you can briefly reheat them in the microwave for about 10-15 seconds. This will help restore their delightful, moist texture.
Frequently Asked Questions
Can I make this recipe ahead of time?
Yes, these bars can be made in advance and stored as directed. They taste great even a few days after baking, making them perfect for meal prep or gatherings.
How long does it last in the fridge?
Stored properly in an airtight container, these bars can last up to a week in the refrigerator while maintaining their taste and texture.
Can I freeze this recipe?
Absolutely! These bars freeze well. Place them in an airtight container and they will keep for up to 3 months. Just let them thaw before enjoying.
What can I substitute for one ingredient?
If you are looking to replace the pumpkin purée, you could use an equal amount of applesauce. However, it may alter the flavor slightly.
Why didn’t my recipe turn out as expected?
Common issues include cold ingredients, improper measurements, or skipping the cooling period. Ensure all ingredients are at room temperature and follow the recipe closely for the best results.
Final Thoughts
Baking Pumpkin Chocolate Chip Bars is an enjoyable experience that fills the kitchen with warmth and comfort. Their rich flavor and delightful texture offer a little piece of home baking that everyone can appreciate. No matter the occasion, these bars provide a perfect balance of sweetness and satisfying pumpkin goodness. With a little patience and care, you’ll be rewarded with a treat that’s sure to bring smiles all around.