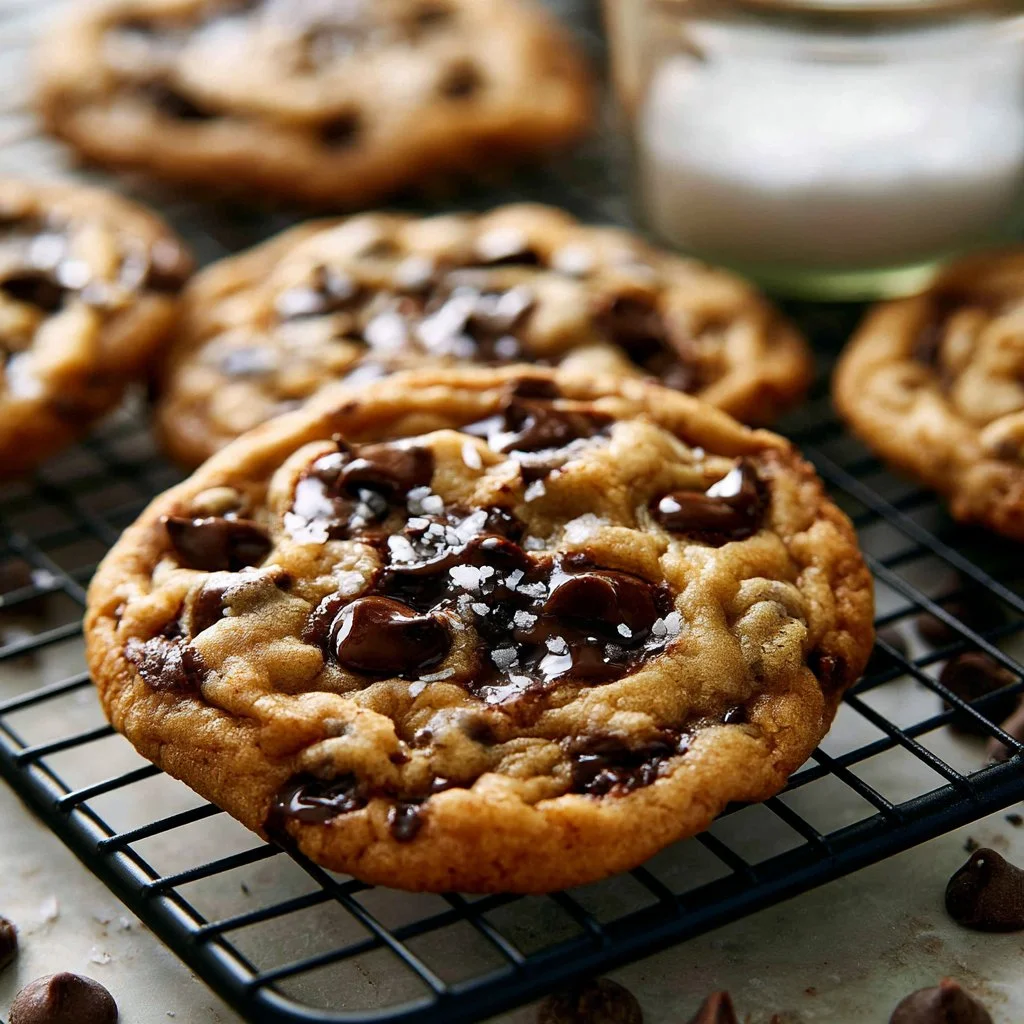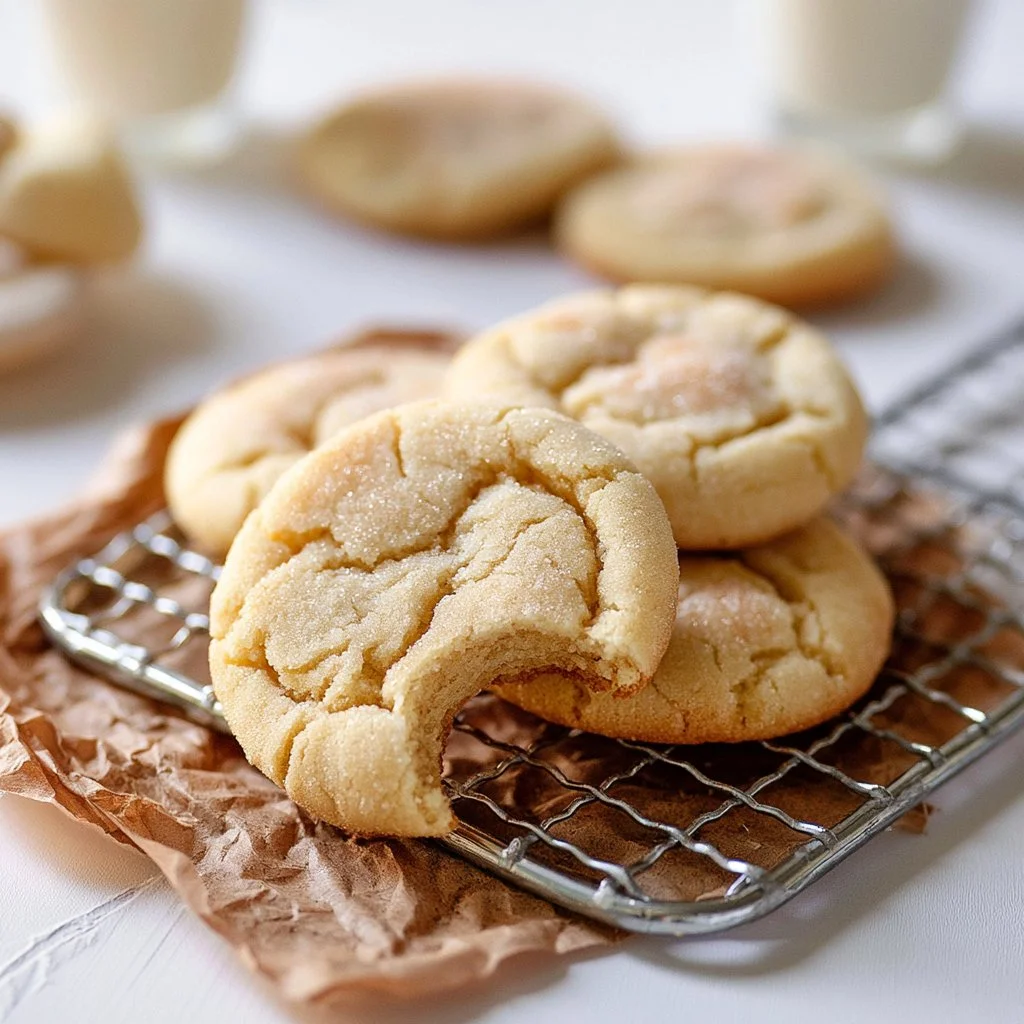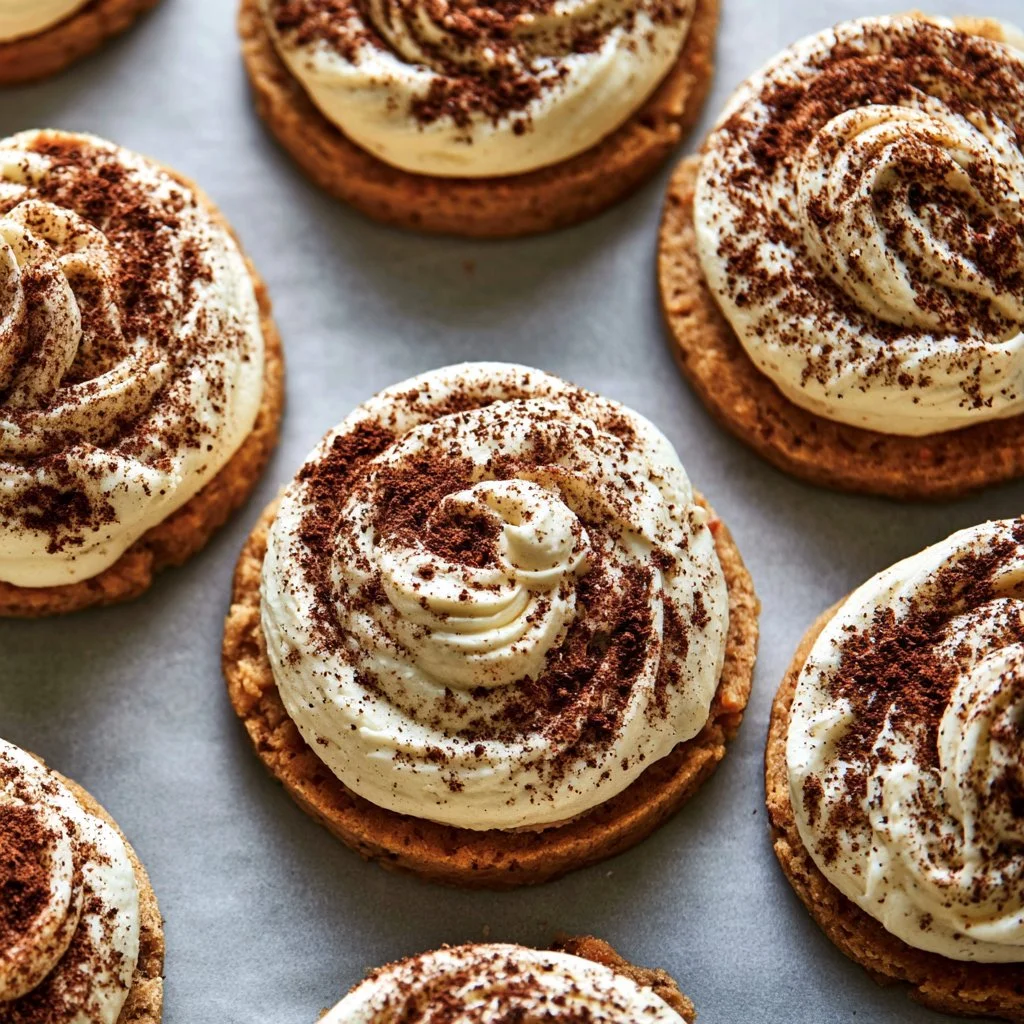


There’s something incredibly comforting about making chocolate chip cookies, especially on a quiet afternoon. The simple act of mixing batter, letting it chill, and then waiting for that warm aroma to fill the kitchen brings back memories. With reliable, traditional ingredients, these homemade chocolate chip cookies are a delightful treat. Each bite is soft and chewy, packed with richness that celebrates chocolate in the best way. Let’s dive into the process and create something wonderful together.
Why This Homemade Chocolate Chip Cookies Works
These homemade chocolate chip cookies are reliable because they rely on a classic combination of flour, sugars, and butter, creating a beautiful balance of flavor and texture. The brown sugar contributes moistness, while the semi-sweet chocolate chips bring just the right amount of sweetness to the mix. This recipe is practical because it uses straightforward ingredients you likely have on hand, making it accessible for any home cook.
Kitchen Tools for Homemade Chocolate Chip Cookies
- Mixing bowls
- Electric mixer
- Baking sheet
- Parchment paper or silpat
- Refrigerator
- Cooling rack
Ingredients
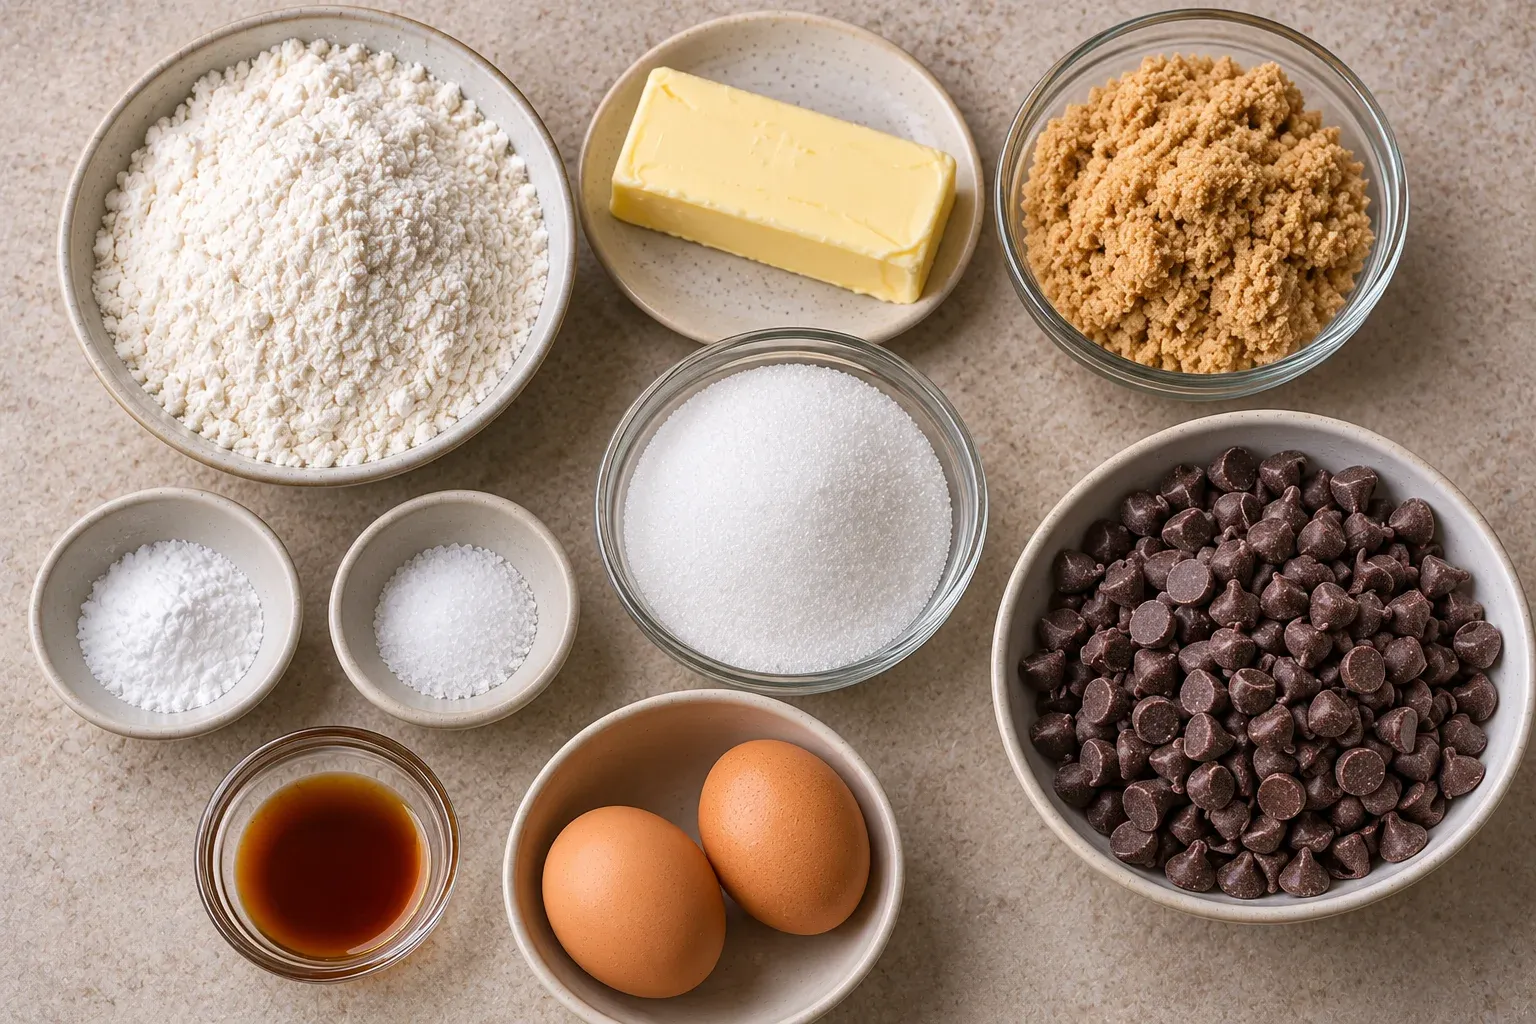
- 2 c all-purpose flour
- 1 tsp baking soda
- 1 tsp salt
- 1 stick butter, softened
- 3/4 c granulated sugar
- 1 c brown sugar
- 1 1/2 tsp vanilla
- 2 eggs
- 1 bag semi-sweet chocolate chips
How to Make Homemade Chocolate Chip Cookies
Step 1. Start by preparing a baking sheet lined with either parchment paper or a Silpat. This will prevent the cookies from sticking and ensure they bake evenly. While you’re doing this, grab a medium bowl and combine the flour, baking soda, and salt. Mixing these dry ingredients together first helps ensure even distribution of the leavening agents, which is key for achieving the right texture in your cookies.
Step 2. In a separate mixing bowl, it’s time to cream the butter and both sugars together. Use medium speed on your mixer to beat them for about four minutes. This process is crucial, as it incorporates air into the mixture, helping the cookies rise and giving them a fluffy texture. When it’s done, you’ll notice a light, creamy consistency.
Step 3. Now, add the vanilla extract and the eggs into the creamed mixture. Continue to beat until everything is well combined. Take a moment to scrape down the sides of the bowl to ensure that all the ingredients are properly blended together. Once mixed, you’ll have a smooth batter ready for the dry ingredients.
Step 4. Turn off the mixer and slowly add the flour mixture to the wet batter. Start at a low speed to avoid clouding your kitchen with flour. Gradually work your way up to medium speed, mixing until the flour has completely disappeared. Be careful not to over-mix at this stage; you want just the right consistency for a tender cookie.
Step 5. Once the flour is fully incorporated, drop in the semi-sweet chocolate chips. Mix them in just a few times—this will help distribute them evenly without breaking them apart. The chocolate chips will add delicious pockets of richness in every cookie, enhancing the overall flavor and texture.
Step 6. After preparing your cookie dough, scoop out small balls of dough and place them on a plate. Cover the plate and refrigerate the dough for about half an hour to an hour. Chilling the dough allows the flavors to meld and helps keep the cookies from spreading too much while baking, resulting in a thicker cookie.
Step 7. When you’re ready to bake, preheat your oven to 375 degrees. Take out your chilled dough and arrange six balls on the lined baking sheet. This spacing gives them room to expand while baking. Keep a close eye on them as they bake, watching for that lovely golden-brown color that tells you they’re done but still soft.
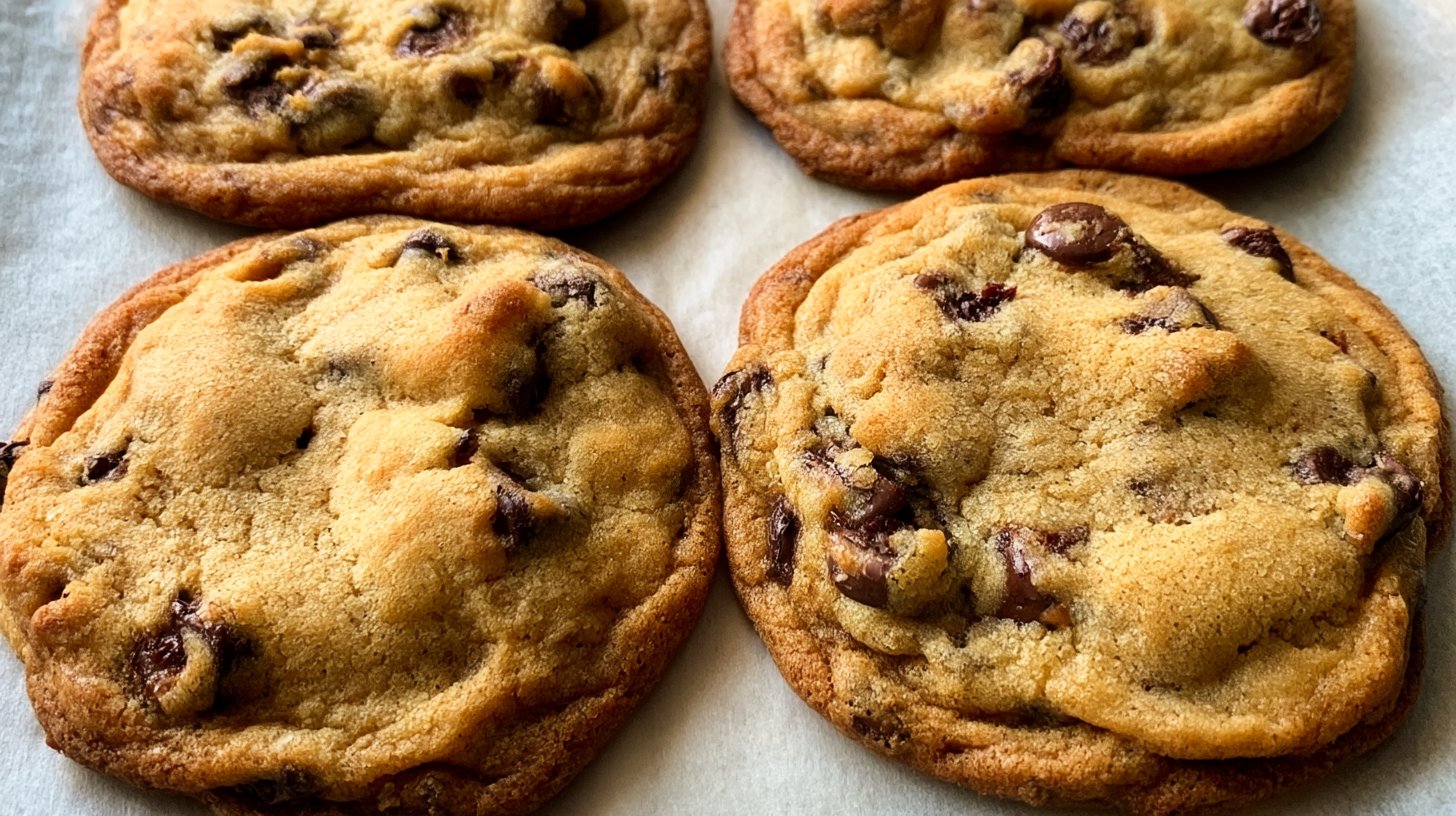
Step 8. After around ten minutes, remove the baking sheet from the oven when they reach that ideal golden-brown finish. Let the cookies sit on the baking sheet for a few minutes to set, as they will continue to cook slightly from the residual heat. Then, gently transfer them to a cooling rack to finish cooling completely.
Serving Ideas for Homemade Chocolate Chip Cookies
These homemade chocolate chip cookies are versatile and can be enjoyed in multiple ways. They’re excellent on their own, perhaps with a glass of cold milk or a warm cup of coffee. If you have leftovers, consider layering them in a simple dessert with ice cream for a quick sundae. They also make a delightful addition to a picnic, offering a sweet treat that everyone will love. Their chewy texture pairs surprisingly well with cheese, so you can serve them alongside a cheese platter for a cozy gathering.
Practical Tips for Homemade Chocolate Chip Cookies
- Use room temperature butter for better creaming results.
- Chill the dough; it helps develop flavor and prevents spreading.
- Don’t overmix the dough once you add the flour to keep cookies tender.
- Store cookies in an airtight container to maintain freshness.
Common Mistakes to Avoid
- Too much flour: Adding more flour than needed can lead to dense cookies. Measure carefully and level off with a knife for accuracy.
- Insufficient mixing: Not creaming the butter and sugars long enough will affect the texture. Aim for a light and fluffy mixture to incorporate air.
- Skipping the chill: If you skip refrigerating the dough, the cookies may spread too thin when baking, resulting in flat cookies. Always chill for at least 30 minutes.
- Overbaking: Leaving cookies in the oven too long will make them dry. Pull them out when they are lightly golden and still soft in the center.
- Inconsistent dough size: If your cookie balls are uneven, they’ll bake at different rates. Use a cookie scoop for uniformity.
- Ignoring cooling time: Moving warm cookies too soon can cause them to break. Give them time to set on the sheet before transferring.
Simple Variations
While this recipe stands strong on its own, consider adding some chopped nuts for a crunchy texture or using dark chocolate chips if you prefer a richer chocolate flavor. These minor tweaks can elevate your cookies without complicating the process.
Storage & Reheating
Store any leftover cookies in an airtight container at room temperature for a few days. If you want them to last longer, refrigerate them for up to a week. For longer storage, you can freeze baked cookies in a sealed bag for a couple of months. To reheat, pop them in a microwave for a few seconds or a warm oven to bring back their fresh-baked flavor.
Frequently Asked Questions
Can I make this recipe ahead of time?
Absolutely! You can prepare the dough and refrigerate it for a day or two before baking. Just be sure to let the dough sit at room temperature for a few minutes before scooping if it’s very firm.
How long does it last in the fridge?
Baked cookies can last up to a week in the refrigerator when stored in an airtight container. They’re always best fresh, but chilling can help keep them from drying out.
Can I freeze this recipe?
Yes, you can freeze the cookie dough before baking or freeze the baked cookies. Just make sure they are tightly wrapped to prevent freezer burn.
What can I substitute for one ingredient?
If you need to, you can use brown sugar instead of granulated sugar for a chewier cookie, or swap the semi-sweet chocolate for a different type of chocolate chip.
Why didn’t my recipe turn out as expected?
There could be several reasons, like incorrect measurements or inadequate mixing. Always double-check your ingredients and timing to ensure the best results.
Final Thoughts
Baking homemade chocolate chip cookies is a relatable experience that brings joy and warmth to any day. They’re straightforward to make and allow for little moments of indulgence that feel special. As you perfect this recipe, remember it’s about enjoying the process and sharing these little treasures with loved ones. Whether for a special occasion or just because, these cookies are bound to bring smiles and satisfaction. Happy baking!

Homemade Chocolate Chip Cookies
Ingredients
Dry Ingredients
- 2 c all-purpose flour Ensure to spoon and level for accurate measurement.
- 1 tsp baking soda Helps the cookies rise.
- 1 tsp salt Enhances flavor.
Wet Ingredients
- 1 stick butter, softened Use room temperature butter for best results.
- 3/4 c granulated sugar Adds sweetness and crispness.
- 1 c brown sugar Contributes moisture.
- 1 1/2 tsp vanilla For enhanced flavor.
- 2 large eggs Room temperature for better mixing.
Mix-ins
- 1 bag semi-sweet chocolate chips Adds richness and sweetness.
Instructions
Preparation
- Prepare a baking sheet lined with parchment paper or a Silpat.
- In a medium bowl, combine the flour, baking soda, and salt.
Mixing
- In a separate bowl, cream the softened butter with granulated sugar and brown sugar using an electric mixer on medium speed for about 4 minutes.
- Add vanilla extract and eggs to the creamed mixture, and mix until well combined.
Combining
- Gradually add the flour mixture to the wet ingredients, mixing slowly at first and then increasing to medium speed until just combined.
- Gently fold in the semi-sweet chocolate chips.
Chilling
- Scoop small balls of dough onto a plate, cover, and refrigerate for 30 minutes to 1 hour.
Baking
- Preheat your oven to 375°F (190°C).
- Arrange six balls of chilled dough on the lined baking sheet.
- Bake for about 10 minutes or until golden-brown.
- Let them sit on the baking sheet for a few minutes before transferring to a cooling rack.