
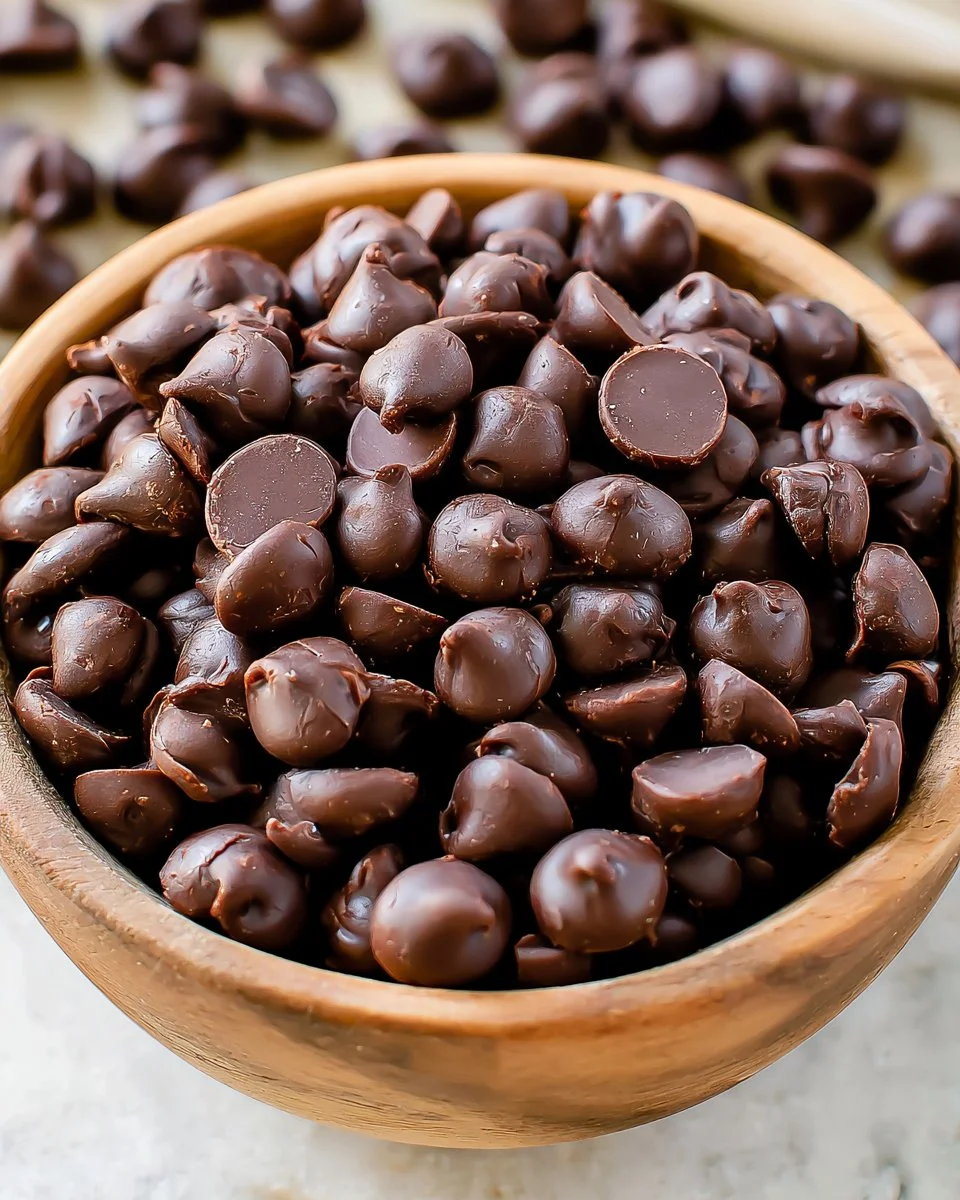
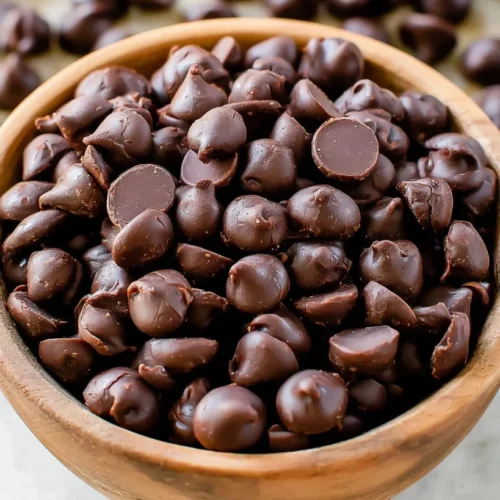
Making your own chocolate chips at home is a delightful way to enjoy a sweet treat tailored to your taste. With just a few simple ingredients like cocoa butter or coconut oil and cocoa powder, you can create these chocolate chips in no time. This easy method allows you to adjust sweetness to your liking and incorporate additional flavors if you desire. Let’s dive into the steps for making your own homemade two-ingredient chocolate chips.
Why You’ll Love This Homemade Two-Ingredient Chocolate Chips
This recipe stands out for its simplicity and reliability; you only need a couple of main ingredients. The ability to customize the sweetness means you can achieve the perfect balance for your palate. Whether you’re adding them to cookies, oatmeal, or using them as a topping, they offer practical value for everyday cooking, ensuring you have a comforting treat on hand.
Kitchen Tools You’ll Need
- Heat-safe bowl
- Whisk or spoon
- Immersion blender (optional, for smoother texture)
- Chocolate molds or a small baking pan
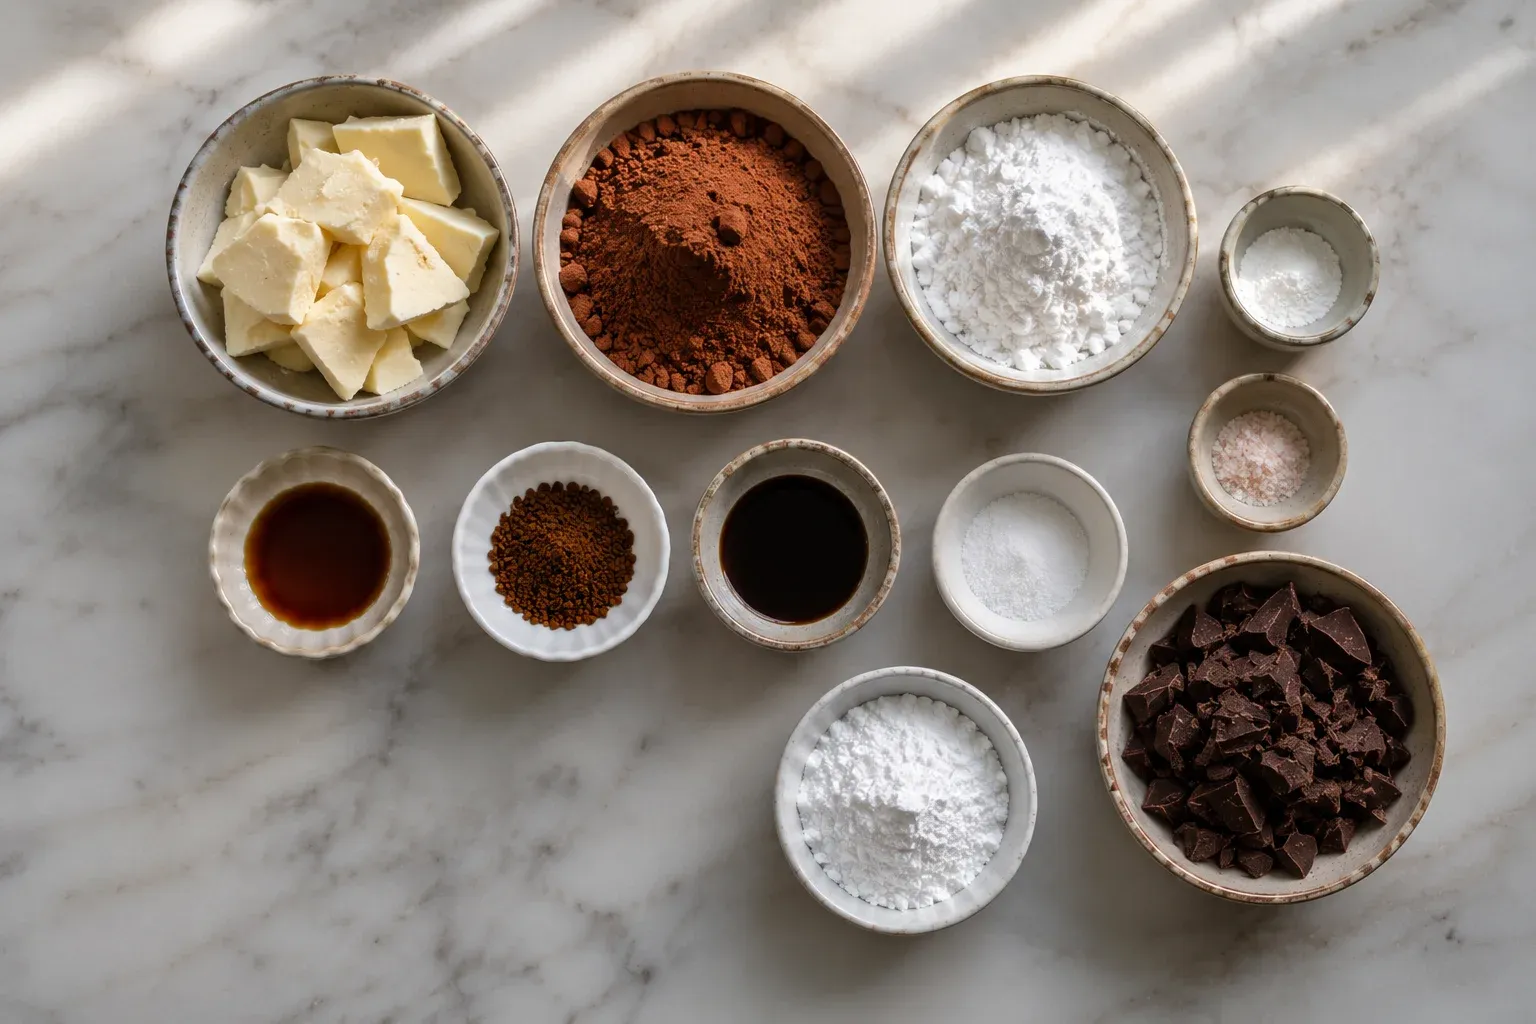
Ingredients
- 1 cup cocoa butter (or 1 cup coconut oil for no bake recipes)
- 1 cup cocoa powder
- 1/4 cup powdered sweetener (or to taste)
- 1/16 teaspoon stevia extract powder (optional)
- 1/2 teaspoon salt
- 1/2 teaspoon chocolate extract (optional)
- 1/2 tablespoon granulated instant coffee (optional)
- 1 teaspoon vanilla extract (optional)
- 2 ounces quality unsweetened chocolate (for shortcut version)
- 2 tablespoons powdered sweetener (for shortcut version)
How to Make Homemade Two-Ingredient Chocolate Chips
Step 1. Melt the cocoa butter in a heat-safe bowl over very low heat. Be careful to monitor it closely, as the goal is to just melt it without letting it become too hot or boil. Allow the cocoa butter to fully melt, which will provide a smooth base for your chocolate chips.
Step 2. Once melted, transfer the cocoa butter to a mixing bowl and let it cool slightly. This is important because adding other ingredients when it’s too hot can alter their textures and flavors. A slight cooling also helps to maintain the chocolate’s quality.
Step 3. Add in the remaining ingredients: cocoa powder, powdered sweetener, and any optional extras you might like. Stir these together until the mixture is well combined. You’re looking for a consistent blend where all the dry ingredients are incorporated with the melted cocoa butter.
Step 4. For a really smooth finish, use an immersion blender to blend the mixture until it has a silky consistency. This step is optional but can make a big difference in texture if you prefer your chips to be ultra-smooth and melt-in-your-mouth.
Step 5. Pour the chocolate mixture into molds or a small baking pan lined with parchment paper. Ensure you spread it evenly so that the chips will set uniformly. If using a pan, you can later cut the chocolate into chip sizes after it has hardened.
Step 6. Allow the chocolate to set. Depending on whether you’re at room temperature or have placed it in the fridge, this may take some time. The goal is to let it become firm enough to hold its shape when you remove it from the molds or pan.
Serving Suggestions
These homemade chocolate chips are wonderfully versatile. You can use them in your breakfast by adding them to pancakes or waffles, enhancing the flavor in oatmeal, or even snacking directly out of the bowl. They can also serve as a delightful addition to dessert recipes, like cookies or brownies. If you have leftovers, they’re perfect for simple chocolate-covered fruits or nuts for an easy treat.
Pro Tips for Best Results
- Make sure to measure your ingredients precisely for consistent results.
- For a richer chocolate flavor, consider adding a touch more cocoa powder to the mix.
- If you find the mixture too thick before pouring it into molds, gently reheat it to loosen the texture.
- Allow enough cooling time when melting the cocoa butter to prevent any undesirable texture changes.
- Using high-quality cocoa powder will significantly enhance the final flavor of your chocolate chips.
Common Mistakes to Avoid
- Using high heat to melt cocoa butter or oil: This can cause it to separate or become too hot. Always melt over low heat to ensure the best texture.
- Adding other ingredients while the base is too hot: It can affect the consistency and flavor. Wait for the cocoa butter to cool slightly before mixing in dry ingredients.
- Not mixing enough: A well-mixed batter ensures all ingredients are evenly distributed. Take a bit of time to stir or blend thoroughly.
- Pouring into molds without properly preparing them: Skip this step, and you may struggle to remove the chips later. Use molds or line a pan with parchment for easy removal.
- Allowing the chips to set in a warm place: Copper or other warm surfaces can cause chocolate to stay soft. Set the mixture in a cool area or the refrigerator for quicker results.
- Not adjusting sweetness according to preference: Taste as you go. The sweetness can be tailored to your specific liking by sampling as you add sweeteners.
Variations & Substitutions
If you want to switch things up a bit, consider trying different flavored extracts such as almond or hazelnut in place of vanilla. You could also adjust the sweetness level with other powdered sweeteners, depending on your taste profile.
Storage & Reheating
Store your homemade chocolate chips at room temperature in a cool, dry place, away from direct sunlight, for up to a week. If you want them to last longer, refrigerate them in an airtight container for up to three weeks. For longer storage, consider freezing them; just make sure they are sealed well to prevent freezer burn. When reheating, melt them gently in a microwave at low power or use a double boiler to maintain their texture.
Frequently Asked Questions
Can I make this recipe ahead of time?
Yes, you can prepare these chocolate chips ahead of time. They can be made and stored for later, providing you with a ready-to-use ingredient for various recipes whenever you need them.
How long does it last in the fridge?
When stored properly in an airtight container, these chocolate chips can last for up to three weeks in the refrigerator. This makes them a handy treat to have on hand for quick snacks or baking.
Can I freeze this recipe?
Absolutely! You can freeze your homemade chocolate chips for a longer shelf life. Just be sure they are in an airtight container or freezer bag to prevent freezer burn.
What can I substitute for one ingredient?
If you don’t have cocoa butter, coconut oil serves as a great alternative. It will yield a similar texture and flavor for your chocolate chips. Adjustments to sweeteners can also be made based on your preferences.
Why didn’t my recipe turn out as expected?
This can happen for a variety of reasons, such as using high heat while melting or not mixing thoroughly enough. Pay attention to temperature and ensure all components are well combined for the best results.
Final Thoughts
Making homemade two-ingredient chocolate chips is a straightforward process that brings joy and satisfaction to your kitchen. Not only do they allow you to control the sweetness and flavor, but they also make for an adaptable treat for various occasions. The warmth of creating such a comforting and familiar snack at home is truly rewarding, and it’s reassuring to know you have a healthy option available whenever a chocolate craving strikes.
Two-Ingredient Chocolate Chips
Ingredients
Chocolate Mixture
- 1 cup cocoa butter or coconut oil Coconut oil can be used for no bake recipes.
- 1 cup cocoa powder Using high-quality cocoa powder will enhance flavor.
- 1/4 cup powdered sweetener Adjust to taste.
- 1/16 teaspoon stevia extract powder Optional.
- 1/2 teaspoon salt Enhances flavor.
- 1/2 teaspoon chocolate extract Optional.
- 1/2 tablespoon granulated instant coffee Optional.
- 1 teaspoon vanilla extract Optional.
- 2 ounces quality unsweetened chocolate For shortcut version.
- 2 tablespoons powdered sweetener For shortcut version.
Instructions
Preparation
- Melt the cocoa butter in a heat-safe bowl over very low heat, monitoring closely to prevent boiling.
- Transfer the melted cocoa butter to a mixing bowl and let it cool slightly.
- Add cocoa powder, powdered sweetener, and any optional ingredients. Stir until well combined.
- For a smoother finish, use an immersion blender to blend until silky.
- Pour the mixture into molds or a small baking pan lined with parchment paper, spreading evenly.
- Allow the chocolate to set until firm enough to hold its shape.